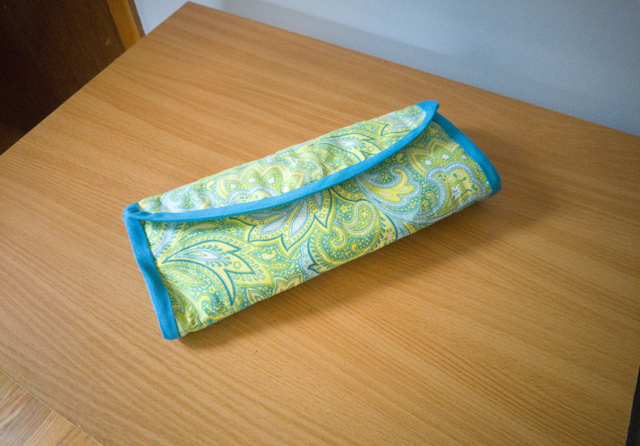
Back in 2013, when I was still living in Virginia Beach, my interest in knitting had just started to really take off. I had access to not one but two local yarn stores, and I had just attended my first fiber festival–the Shenandoah Valley Fiber Festival in Berryville, Virginia, to be precise. A few precious skeins of luxury and hand-dyed yarn had already come into my possession, but my real passion was tools.
I stumbled upon ChiaoGoo RED lace circular needles early on and they quickly became my favorites. At first I kept them in their original plastic wrappers, but it was a pain, and not pretty either. As I continued to accumulate needles, I started scouring Etsy and blogs for a suitable solution, but eventually decided that I would be happier if I made my own, customized for my needs.
Fast forward two years, and my stalwart little roll was practically overflowing with needles. Despite doubling up needles of the same size I was out of pockets, and the DPNs in particular had a nasty habit of wriggling free and diving to the bottom of my knitting bag. It was time for a new solution, preferably one that was more secure.
After spotting a zipped case I liked online, I set to work drafting my own ideal version. Since the finished dimensions weren’t very large, it seemed like a perfect opportunity to pick up a few coordinating fat quarters rather than committing to yardage.
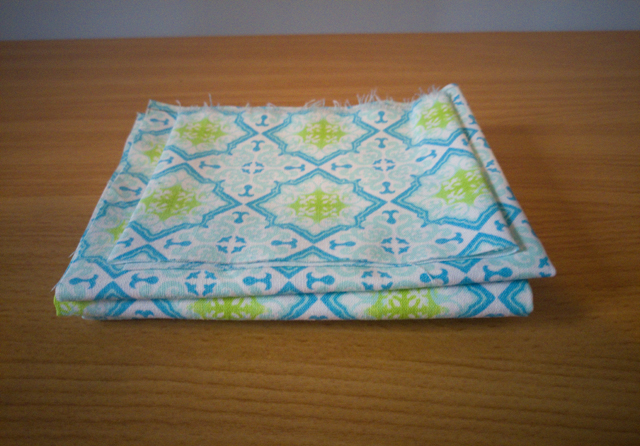
Cheery, no? Sadly, the fabric was printed horribly off-grain, and the strong geometric pattern coupled with rectangular pattern pieces meant that there was no way to hide the misprint. I considered reversing the inside and outside fabrics, but decided that I wouldn’t tolerate it being off-grain just because it was less visible–I would know, dang it! So I headed back to the fabric store, and guess what? I found the exact same paisley print that I had used on my original roll. Crazy, right? If you’re interested, you can still find it here.
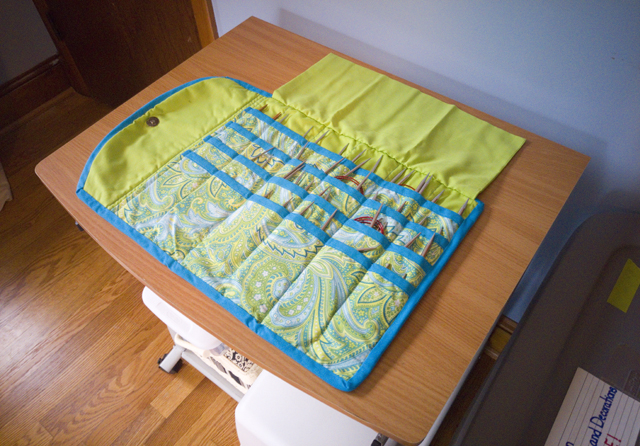
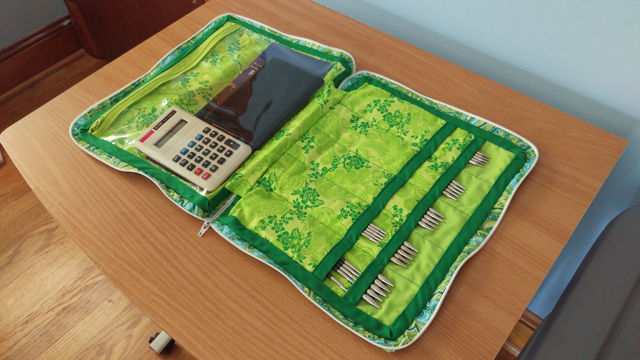
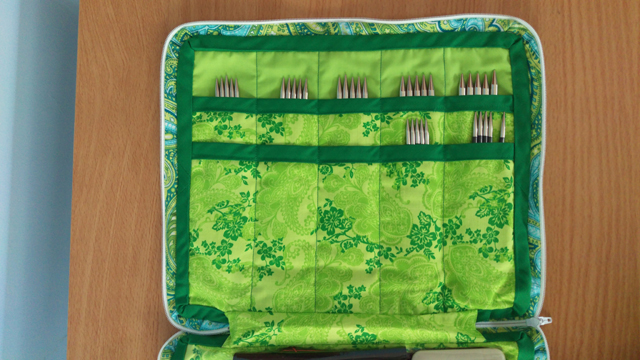
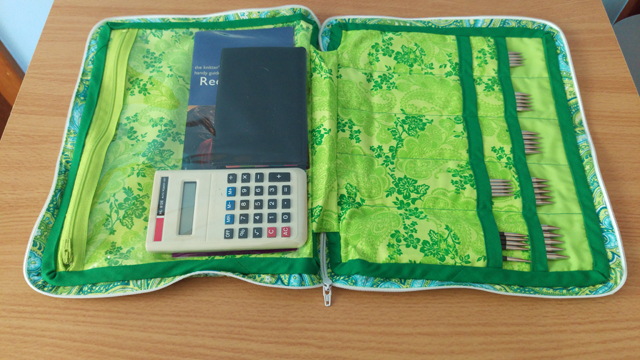
There are two components to the design. The inside “folder” consists of two rectangular halves joined by a fabric hinge. The right side features two rows of pockets for needles.
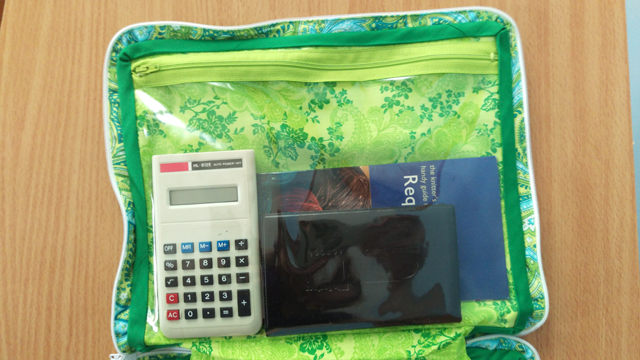
The left side features a single clear zippered pocket for knitting paraphernalia.
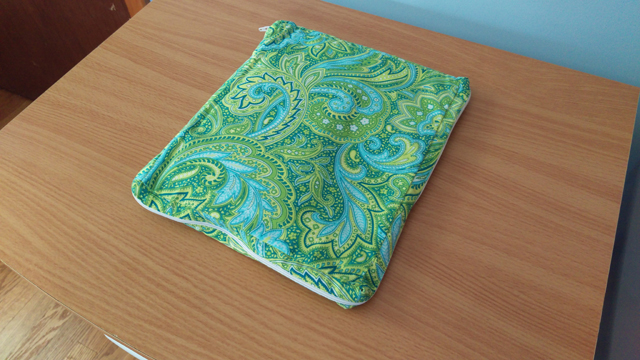
The outside consists of a “shell” with a corresponding fabric hinge and a zipper around the other three sides. The zipper is inserted in a fabric gusset to allow enough room for the contents without bulging.
Execution was more difficult than design, as is so often the case. I didn’t account for the thickness of the sandwich of cotton batting and three layers of quilting cotton, which made binding the edges with handmade bias tape a struggle and also made the finished folder larger than planned. But since I’d already sewn up the shell, including doing the mental gymnastics necessary to insert the zipper into the gusset so that it was actually functional, I was not about rip all of that apart, go back to the store to buy even more fabric, and start that part over again. Instead, I painstakingly slipstitched the folder into the shell, manhandling it into place where necessary (mostly the corners). This probably contributed to the way that the gusset and zipper stick out in weird waves, instead of creating a smooth plane perpendicular to the front and back of the case.
Apart from those headaches, the construction involved a minimal amount of hair-pulling. I actually rather liked working with the clear vinyl, although I would recommend against using transparent tape to hold things in place unless you fancy cleaning off the residue later. Better to stick to pinning within the seam allowance and other invisible places, such as within the width of the zipper tape.
Speaking of zippers, I thought it was going to be needlessly complicated and expensive to find a long enough zipper to wrap around the shell, until a found a non-separating bathrobe zipper in a hidden bin at the fabric store. They only came in white, but it was easier than ordering something online. If you’re the enterprising sort, you could probably dye them to match your project.
The only thing I really regret is not interfacing the inside of the front and back of the shell. I recall thinking that if I added interfacing I would have to add another layer of fabric or bias binding somewhere, and I was afraid that that would interfere with the zipper operation. Or something like that. I vainly hoped that the thickness of the inner folder would keep things flat, but everything slumps a little too much for my liking. Maybe one day I’ll work on an improved version of the design, but for now this little case does an admirable job of corralling my ever-expanding DPN collection.
What do you use to hold your needles, DPNs or otherwise? If you made your own, did you follow a pattern/tutorial or did you create your own design?

