Stained Glass Dress | Colette Wren

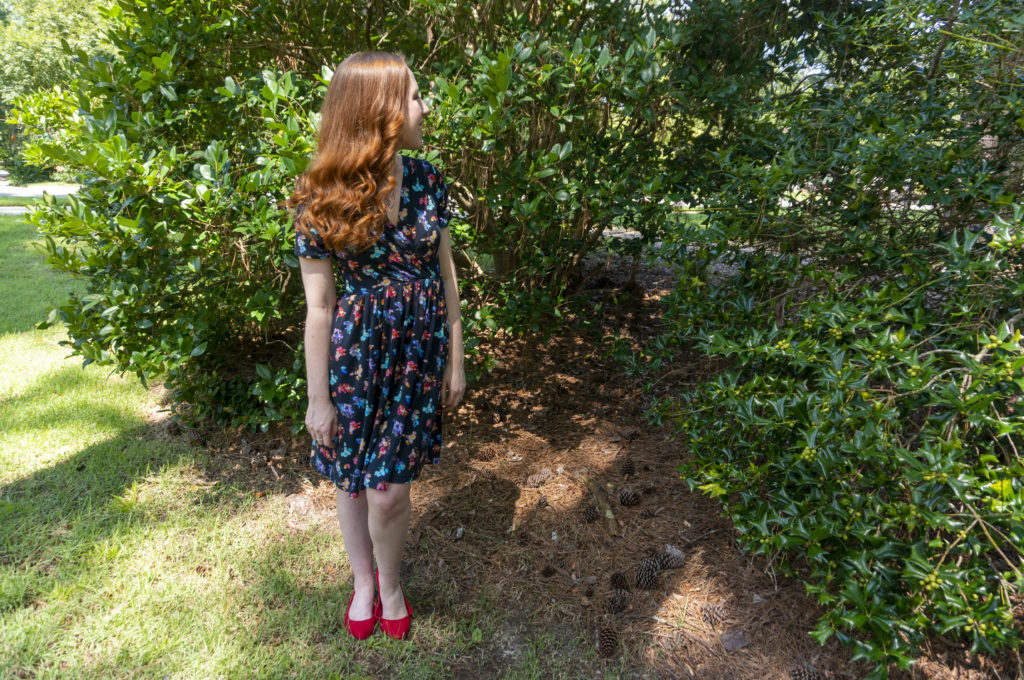
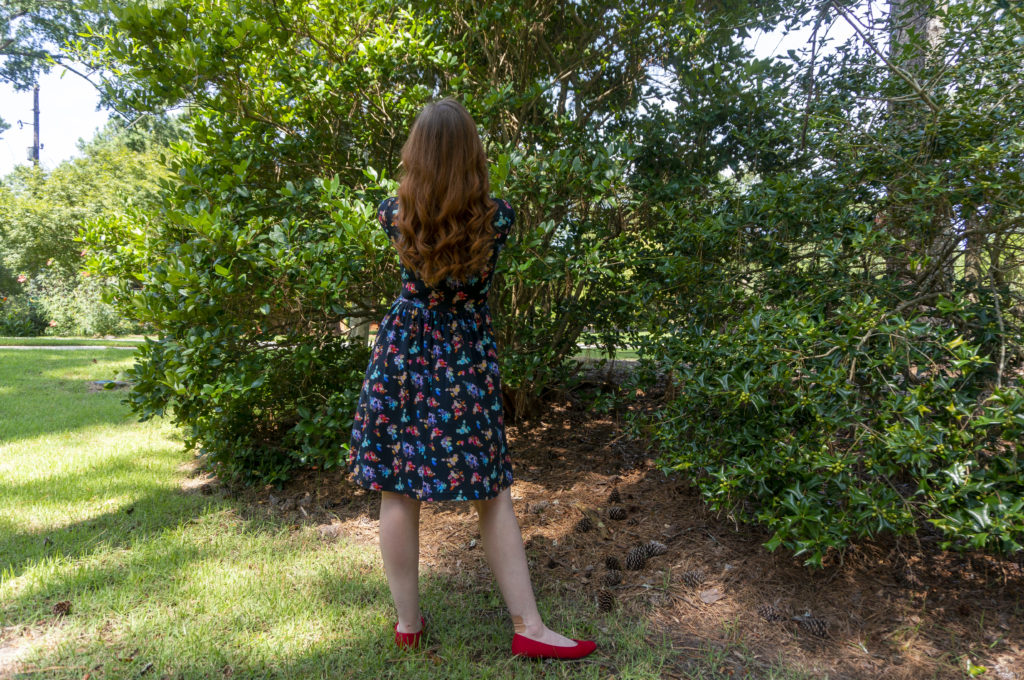
Wren might be the first Colette pattern I genuinely coveted. I’m not sure if it was the colors the samples were made up in, the more fitted silhouette at a time when everyone seemed to be turning out a skater dress pattern, or the one model’s  red hair and dark magenta lipstick (which I found a dupe for in Too Faced’s Melted Matte-tallic in shade I Dare You). Don’t ask me why I didn’t just buy it when it came out—I don’t know. I tried to assuage my desire by buying a vaguely similar Big 4 pattern (McCall’s 7116) during a $1 sale, but it wasn’t the same. When I realized Freeman’s Creative Craft Supply in Durham had a deeply discounted copy, however, I pounced on it.

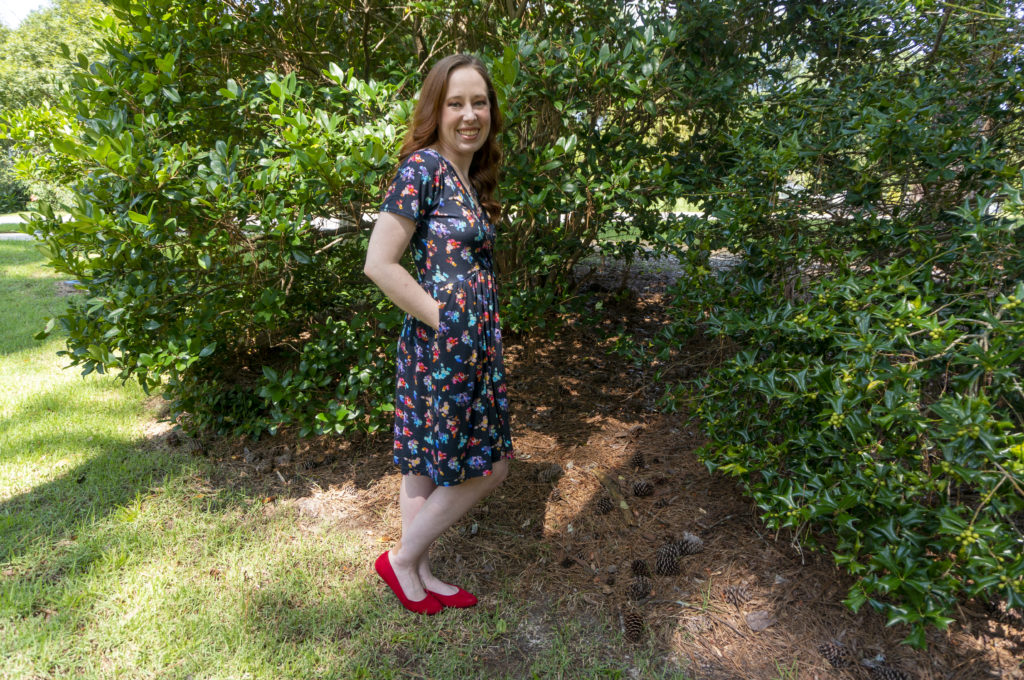
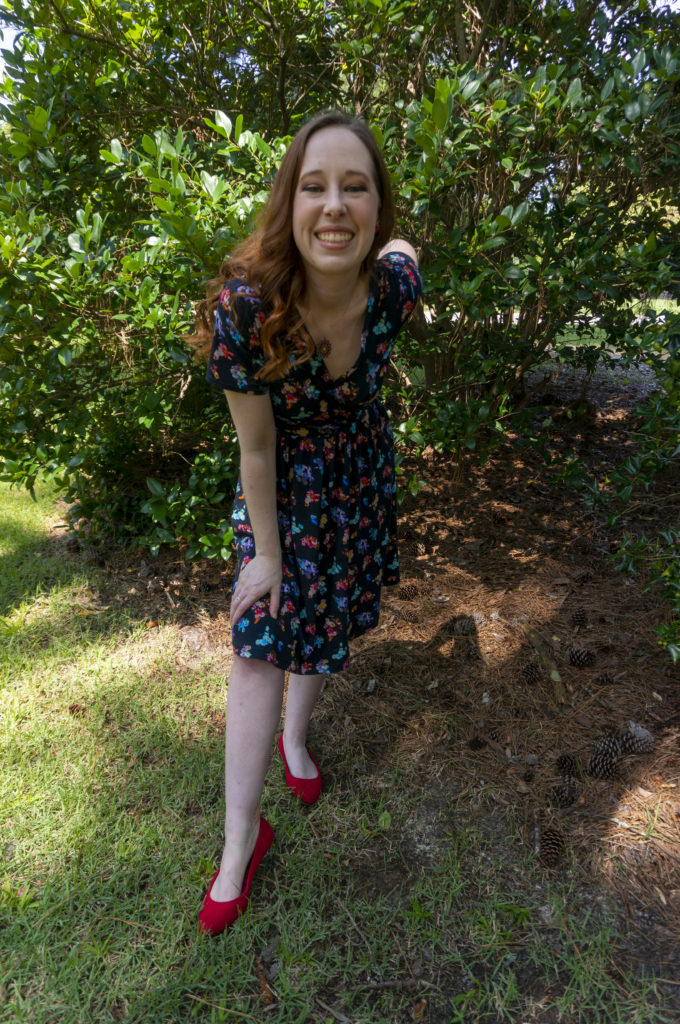
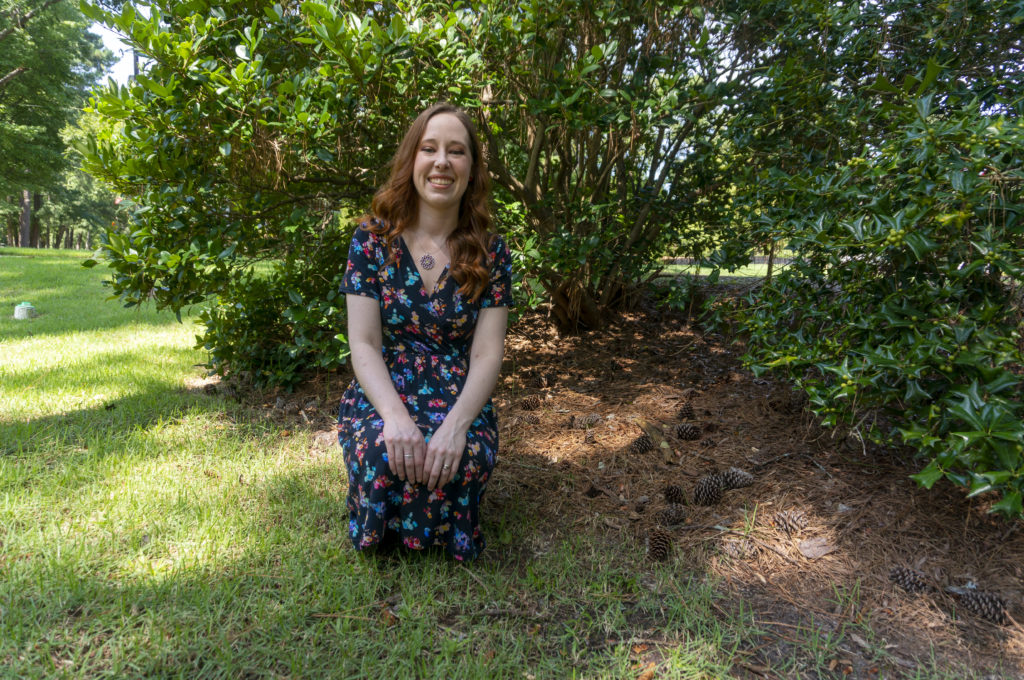
The fabric is older, purchased at least four years ago on a bit of a whim with a dress? or a top? in mind. I’m no longer sure. It’s a Nicole Miller for JoAnn design, which (no surprise) is no longer available, and I believe it’s a rayon spandex blend. The pattern reminds me of stained glass, or colored crystals, which is what seduced me into buying it even though I’d prefer to avoid black bases in favor of navy, forest, or brown now.

I chose View 2 with its gathered skirt and short sleeves. I cut an XS in shoulders/sleeves and bust, grading out to a small at the waist and hips. Since all of the sizes met at the same point on the crossover portion of bodice, with width added only at the side seams for the different sizes, I opted to cut out an XS neckband as well. It worked out just fine.

I assembled everything on my sewing machine and finished the seams on my serger; I continue to find that’s the best way for me to avoid catching wrinkles of fabric in the seams and thus cutting holes into the body of the garment while serging. I used WashAway Wonder Tape to stabilize the neckline, sleeve hem, and skirt hem for topstitching. It’s hands-down one of my most valuable sewing tools, and I’m sad I ran out before I finished this project. It’s on my list of things to replace, along with my ironing board cover, which I recently gashed with a pair of pinking shears.

As you no doubt noticed, I learned my lesson with Zinnia and added pockets to the side seams. Pockets aren’t included in the pattern, so I grabbed a pocket template I had lying around and tweaked it to fit. This chiefly involved adjusting the side seam extension to account for the 3/8″ seam allowance and extending the other edge to attach at the waist for a more stable pocket.

The only thing I had trouble with was gathering the waist, and the addition of pockets may have had something to do with it. Anchoring the pockets at the waist meant two more layers of fabric that had to be gathered in that area, and my thread did not want to slide in that area.

I tried shirring the skirt using clear elastic like the instructions recommended, a technique I’ve done successfully before, but because the un-gathered skirt waist is so long it was impossible for me to keep the elastic taut, lined up with the fabric edge, and moving steadily under the needle at the same time.

After that failed, I tried gathering using three rows of basting stitches, and then again with a zig zag stitch over dental floss. Neither worked perfectly, but the former performed marginally better than the latter, so I stuck with that. I found it helpful to gather the front and back separately, and ended up gathering the top of the pockets separately as well.

Once the gathered skirt was attached to the bodice, I applied clear elastic while serging. I think my serging was a little firm, because the waist doesn’t stretch as much as it could, but I can still get it on and off without issue so I’m not inclined to redo it.

After trying on the assembled dress, I cut 2″ off the bottom hem and then folded up 1″ and topstitched to get my perfect just-above-the-knee fit.
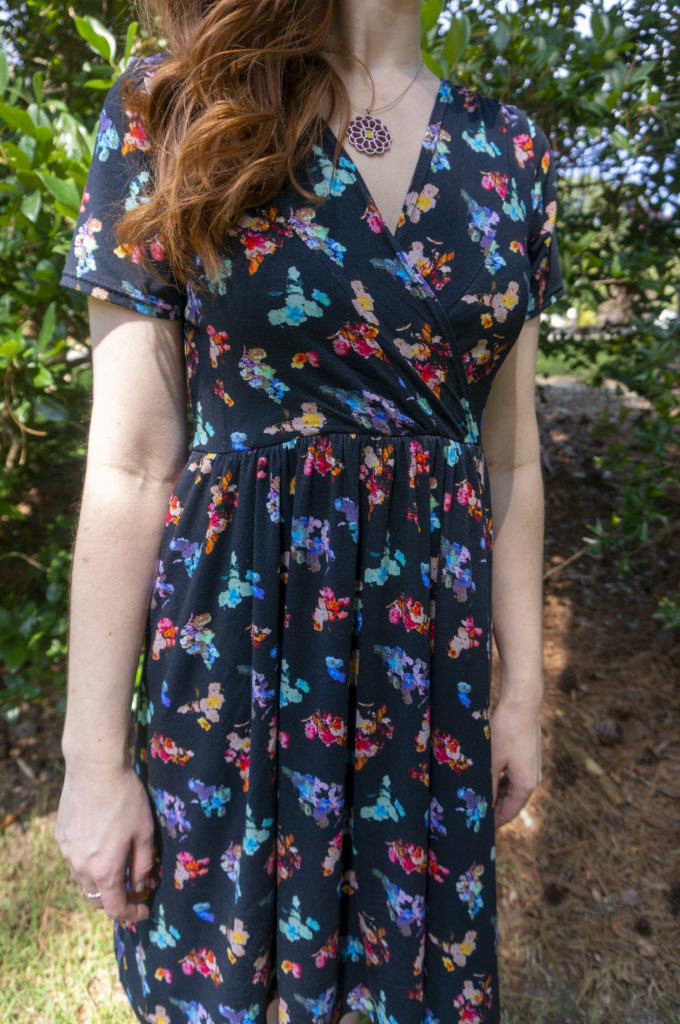
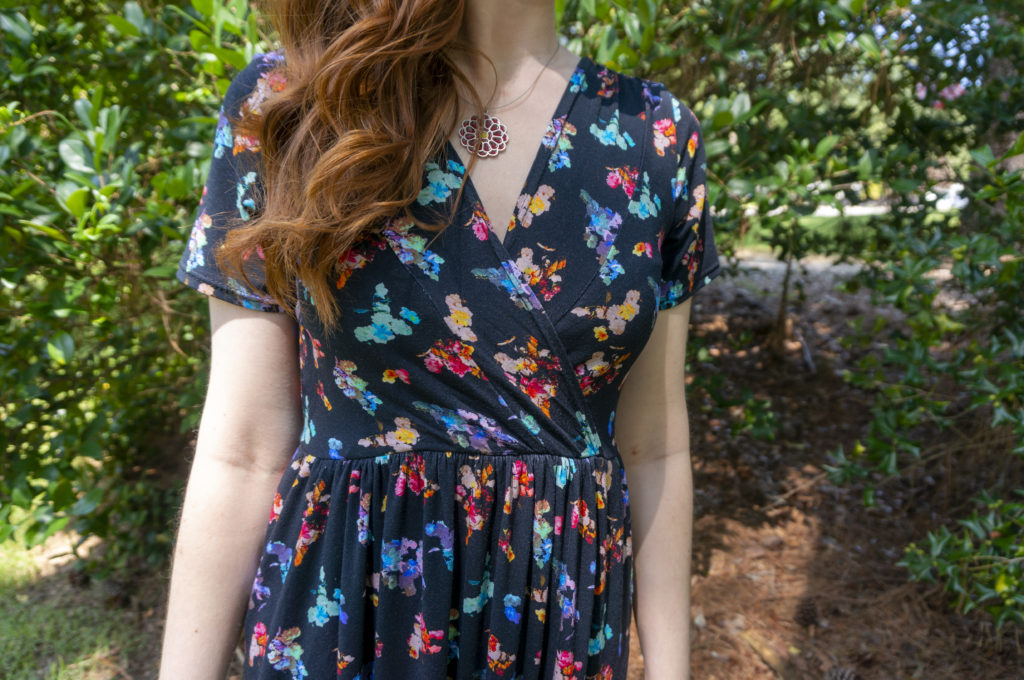
I noticed the front waist seam is slightly raised at the center while the back waist seam tends to droop. It’s not a problem per se, but it did have me scratching my head. I suppose it might be the result of the pattern being drafted for a C cup while I’m a D; if so, one of the models had the same problem. After looking at a bunch of different Wrens online, I’ve discovered the position of the waist seam varies dramatically based on overall body size, bust size, and fabric choice, and I have concluded this is just the nature of the beast and not something to fuss over.

Overall I’m pleased with the result, and glad I finally sprang for the real-deal pattern. I even got brave and made my alterations directly to the tissue, a decision I’m relieved that I didn’t come to regret. If it turns out I ever go back to having a job in an office, I’d like to make View 1. Till then, I’m happy to stick to swishy secret pajamas.


Outfit Details

Dress: Colette Wren | Shoes: Kelly & Katie | Necklace: Spark Metal Studio

Belated Floral Birthday Dress

There’s a bit of a tradition in the sewing community of sewing a new outfit for a special occasion—for once-in-a-lifetime events like weddings and proms and graduations, as you might imagine, but also for those smaller milestones like birthdays and vacations to new places. Not everyone does this, of course, nor even the majority of people who sew, but it’s a ritual I’ve seen a fair few sewists indulge in, and I’ve secretly cherished the idea of doing it myself for rather a long time.

The trouble is, I always think to do it as the date of the event is closing in, when it’s only a week or two a way, which simply isn’t enough time (for me) to do a special project any kind of justice. Not without an excess of wailing and hair-pulling, anyway. I’m generally self-aware enough not to create that kind of stress for myself around an occasion I’m particularly looking forward to, so year after year I watch my birthday, and my dream of a birthday dress, come and go.

Not so in 2019, however. This time, I was determined to start early and finish with time to spare. I was helped considerably by having a strong idea of what I wanted right out of the gate: a 70s-style mini dress in a floral print, preferably with a gathered sleeve, maybe with a ruffle somewhere. I suspect I was influenced by the True Bias Roscoe Blouse and the Friday Pattern Co. Wilder Gown, or more specifically Allie’s mashup of the two.

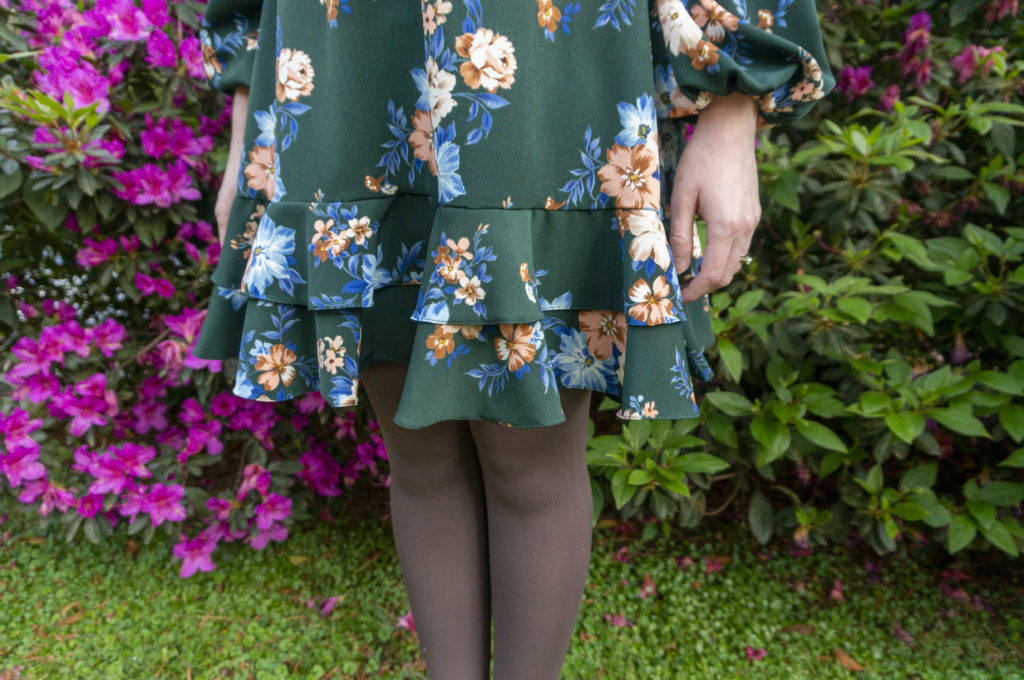
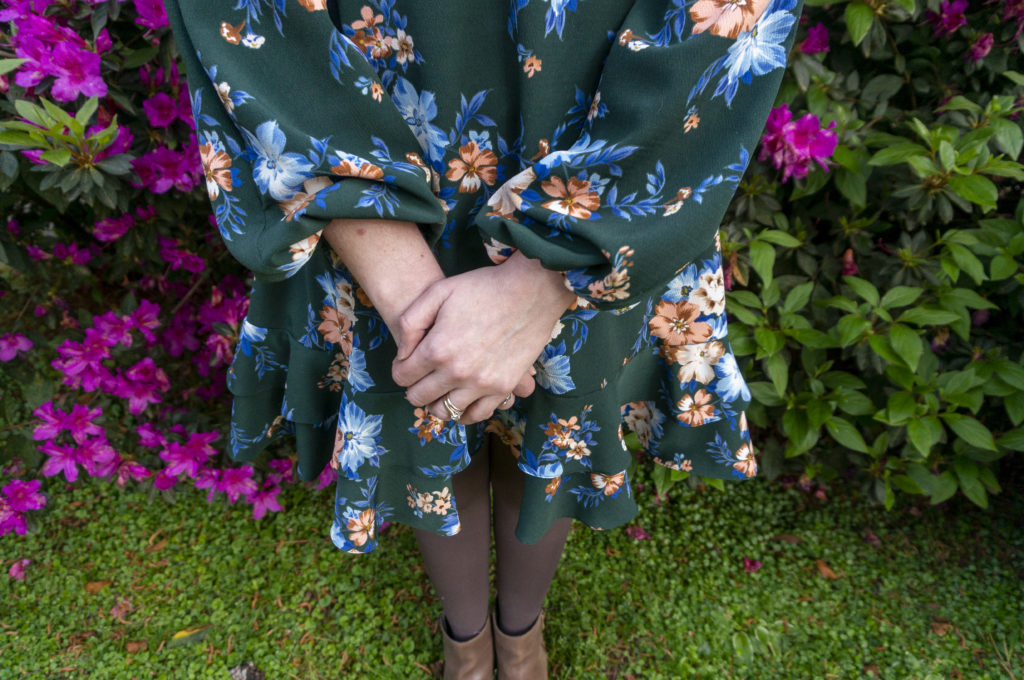
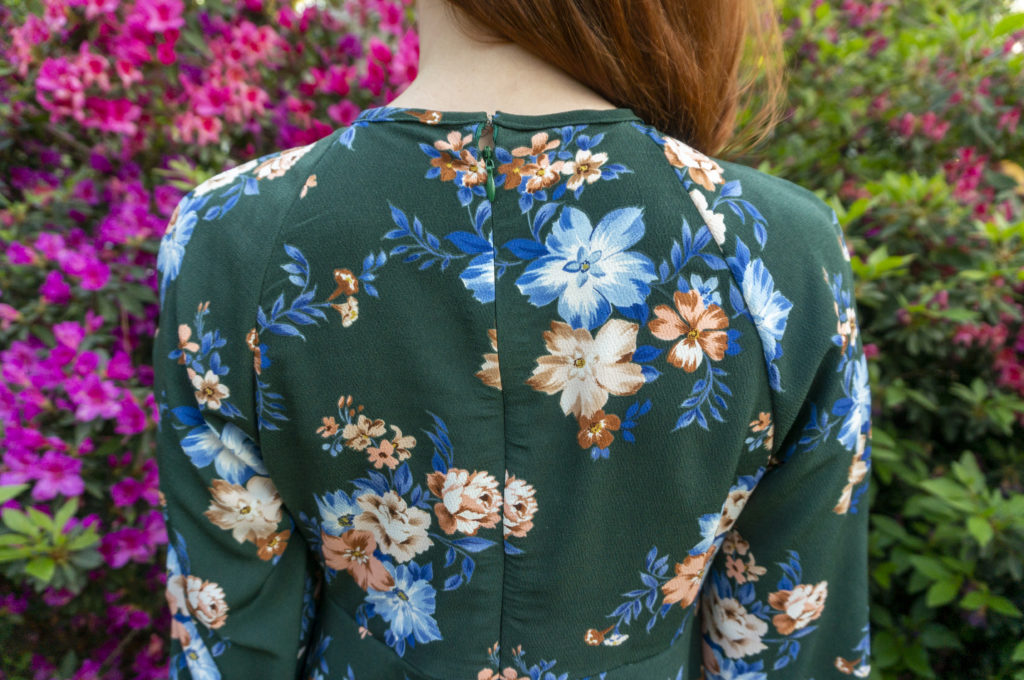
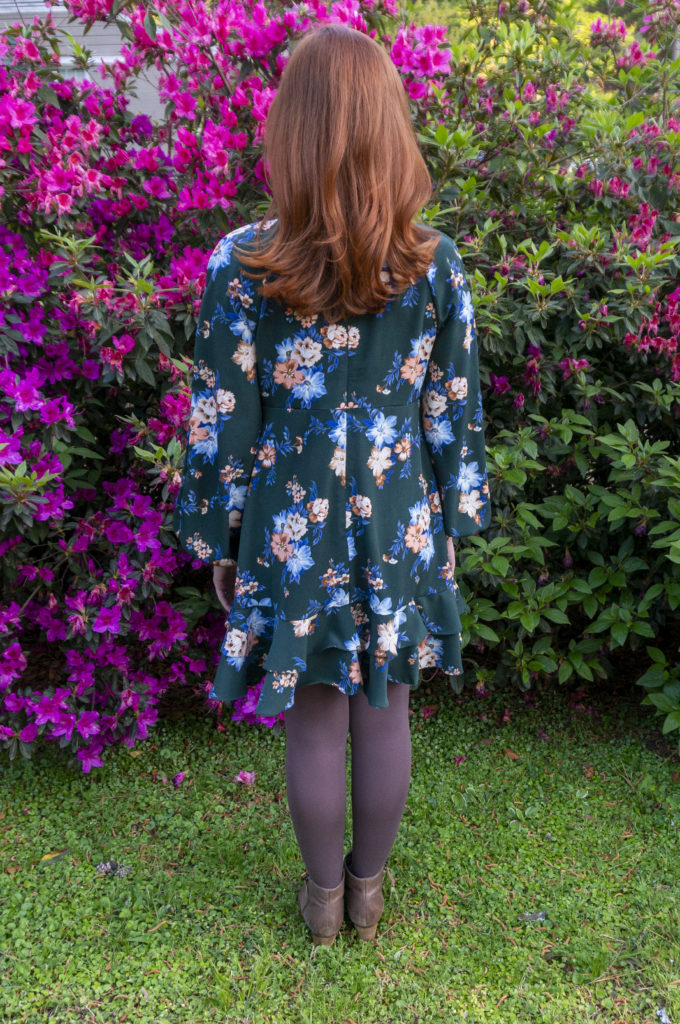
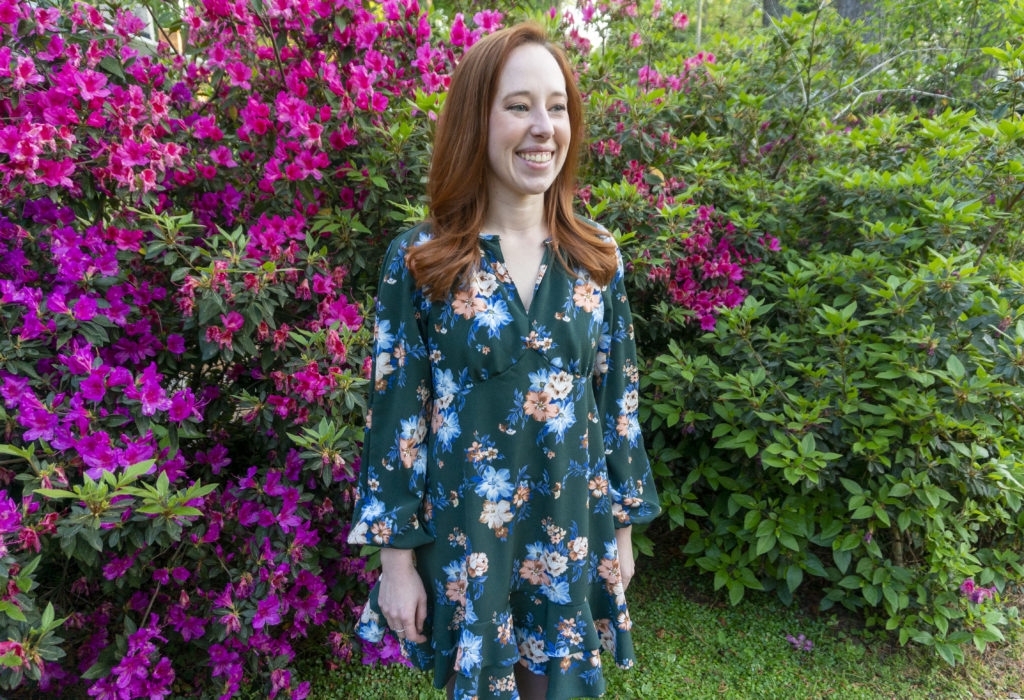
Fortunately for me, I found what I was looking for more or less instantly in Butterick 6705. I chose View B, which offers a shorter length, sleeves gathered by elastic at the wrist, a bound neckline, and a double flounce at the hem. The relaxed waist and hip and flared hem are balanced by the peaked empire waist and bust gathers, which provide shaping around the chest. The raglan sleeves keep things on the casual side.

The fabric is a polyester crepe from JoAnn. I briefly considered a slightly more graphic design with black-and-white line art flowers on a solid background, but loved the dark green of this floral too much to pass up, and besides, if ever there was a time to lean into a softer, more romantic style, this seemed like it.

Despite its textured face, the polyester crepe has a smooth back that, when combined with the fabric’s thinness and fluid drape, made it an absolute pain to cut and pin. I did try to starch it with a homemade spray starch solution, but was too impatient for it to dry before trying to press it, and I ended up foregoing starch on all but the two bodice pieces. It really would have been better to wait, and if I use polyester crepe again I’ll factor in time for starching and drying before cutting.

I cut a size 10 at the bust, grading to a size 12 at the waist and hip. I removed 2″ from the lengthen/shorten line above the waist and below the hip, shortening the dress by a total of 4″. I made the decision to shorten in both places based primarily on my CustomFit measurements, which have separate lengths for “waist to armhole” and “waist to hip” that I compared to the finished garment measurements, but also based on the principle that it’s generally a good idea to split such large differences over multiple areas to avoid any weirdness at the seams.

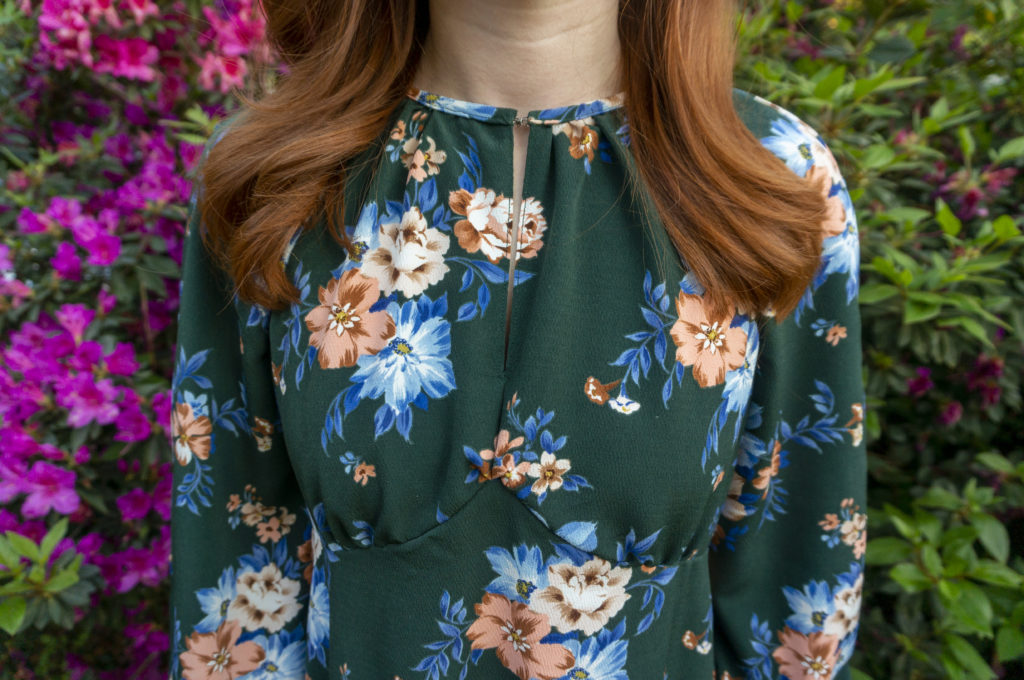
For the sewing itself, I had no issues with a 70/10 universal needle and polyester thread. The pattern instructions didn’t offer any suggestions on how to finish the raw edges of the center front bodice seam, so I extended the narrow hem that’s used on either side of the front neckline slit. The rest of the raw edges are finished with French seams, and each flounce has a tiny rolled hem.

Stitching the narrow binding on the neckline was a beast, but worth it because I like that finish. As with my Archer shirt, I opted to sew the binding to the wrong side first, then wrap it to the outside and stitch in place from the right side; if the stitches don’t go through the binding on the outside, I have to go back and re-stitch them anyway to secure the binding, but if they don’t land “in the ditch” on the inside, who cares? Nobody can see it anyway.

My only complaint with the pattern, and it’s only a very minor quibble, is that the two-piece sleeves are designed to be eased, but there’s only one notch indicating where the easing should end, instead of two notches like you’d find on a princess seam.

In terms of improvements, I wish I’d gotten the zipper to lay a little more smoothly and stop a little closer to the top of the dress. I also hope to one day be able to sew on hooks and eyes competently. These ones are okay, though they’re a little more visible than I would have liked. Because the neckline is so high in the front, I will sometimes leave the front closure undone like you see in the last photo.

On the flip side, I’m proud of how the flowers accidentally lined up quite neatly across the front slit, since (as you can see from the rest of the dress) I didn’t even bother to try pattern matching.

The only way in which this dress could be said to have missed the mark was that I didn’t have it done in time for my birthday. As I approached the day of, which I planned to celebrate with a small group of friends at a local game cafe, I realized that all of the painstaking pinning I was having to do was slowing me down, and I was going to have to really sprint to get the neckline binding and the flounces completed. But after visiting the cafe and realizing it was going to be far too cold inside to wear an unlined, artificial-fiber dress comfortably, I decided to cut myself some slack and finish after the party (which also gave me more time to focus on making a cake, so win–win).

Not to worry, though—my birthday dress dreams were not, in fact, dashed, as I ended up having a second birthday celebration with my family during our Thanksgiving holiday. The dress garnered many compliments and was wonderfully accommodating of my turkey-day indulgences.

While I don’t see myself having the wherewithal to make a new frock for every special occasion, I might be contemplating making a travel wardrobe for our next big vacation, which will likely be so far into the future that I will surely have at least even odds of achieving my sewing ambitions.

Fast (Re)Fashion: Polo Shirts to Polo Dress

During the first quarter of 2017, Justin was let go from his office job and was put in a position where he needed to take temporary work for a time. Options were sparse, however, and he ended up in a more a physical job than he expected, one that had him on his feet all day handling things that were frequently sharp, greasy, or caustic. There wasn’t a strict dress code, so for the first couple of months he kept wearing his favorite t-shirts and polo shirts to work. His motive was understandable: faced with mindless tasks he didn’t enjoy in the sub-basement of a company that didn’t value him as an (expendable, temporary) employee, he clung to the one thing that made him feel like a person. Who can blame him?

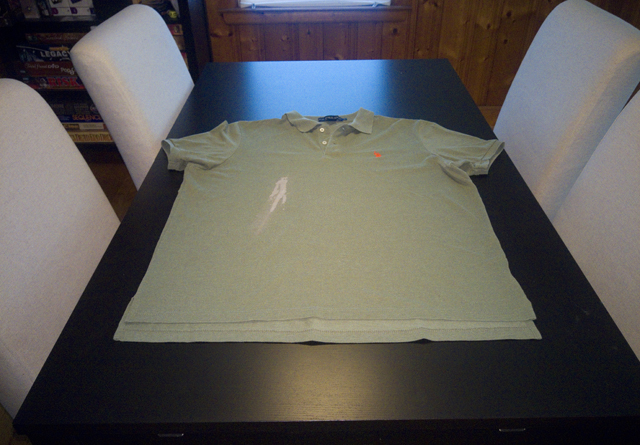
Unfortunately, several of his shirts quickly sprouted holes, grease stains, and bleach marks. One of those shirts was a particularly nice polo from Ralph Lauren, in a flattering shade of green, that he’d received as a gift for Christmas.

The stain was too large and too prominent to cover up discreetly, but I was loath to throw away a good shirt that was otherwise in pretty decent condition. After eyeballing it several times and then trying it on (it was a men’s XL), I decided I could salvage it by turning it into a dress for me. I knew the dress had to have princess seams to avoid the stain, and I didn’t have anything in my pattern stash like that.

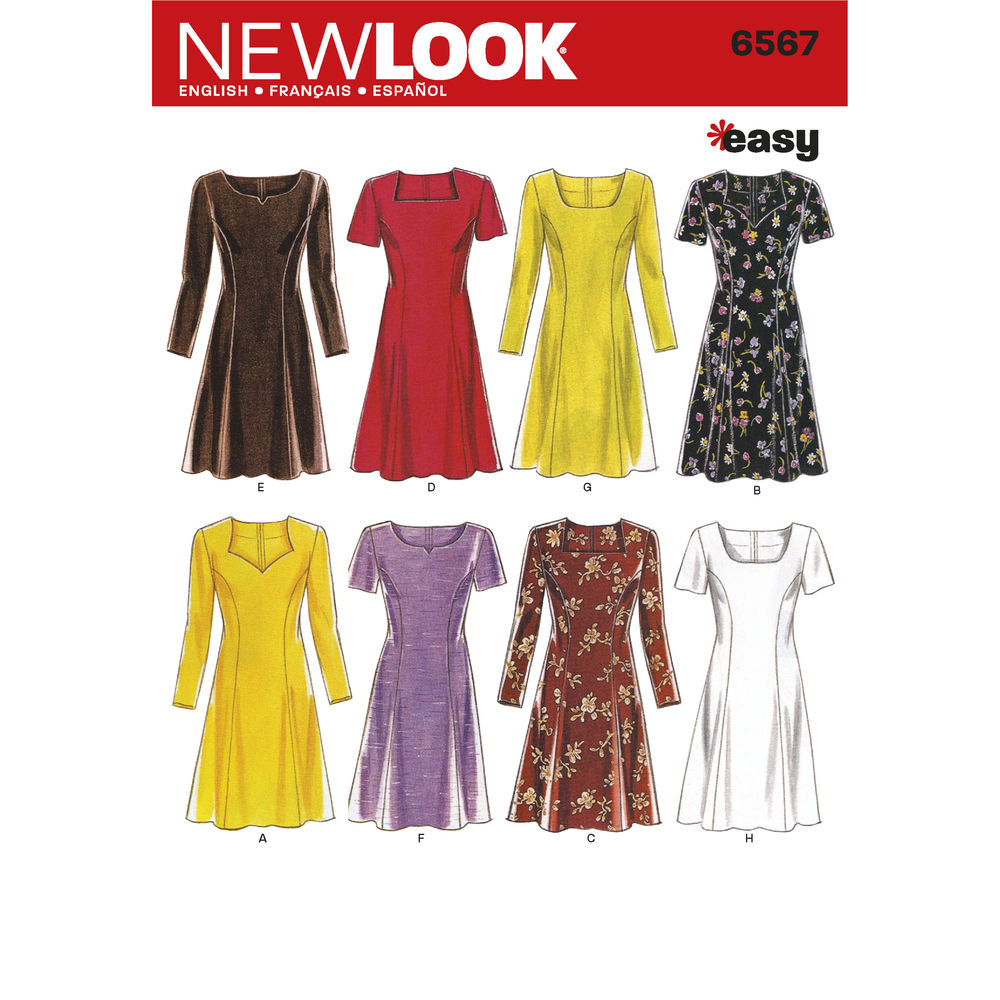
After flipping through both online and in-store pattern books, I settled on New Look 6567.

It’s designed for wovens, but it was the only pattern I could readily find that had the style lines I was looking for. I ignored the various neckline options and the back zipper, since I planned to preserve the original collar and placket and leave the dress a pull-on affair.

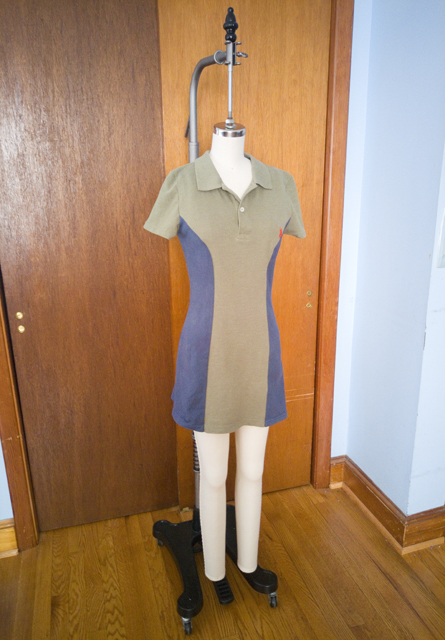
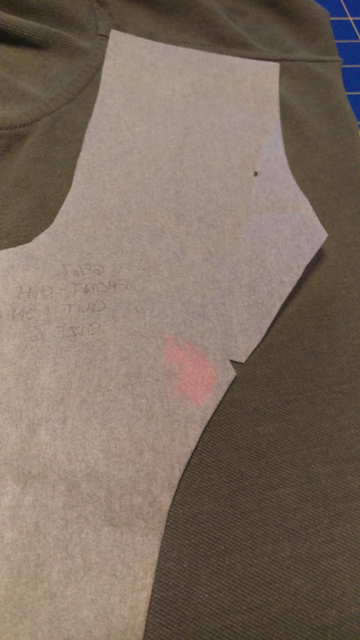
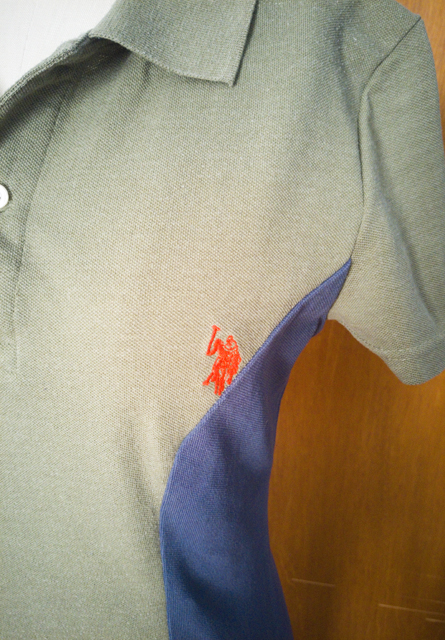
I cut the shirt apart at the side seams and removed the sleeves, but left the front and back attached at the shoulder and left the bottom hem intact. Based on my measurements and what I thought was an acceptable amount of ease, I traced a size 6, and then proceeded to shift the pattern pieces around on top of the shirt until the grainline was parallel with the center front and the slope of the shoulder on the pattern roughly aligned with that of the shirt. I had to dodge the bleach stain, and I also wanted to preserve the logo embroidery if possible—I liked the contrast of orange on green.

As soon as I started playing pattern-piece-Tetris, I realized there was a problem: although the shirt was plenty wide enough on me, I wasn’t able to fit the side front and side back pieces on the shirt and respect the grainline without losing a significant amount of length from the bottom. (I wish I had a photo showing this, but I forgot to take one.)

I briefly despaired, then raided Justin’s closet and dug out another polo shirt that was destined for the refashioning pile. This one was a different brand with a different cut, and it was white. The shape didn’t matter so much since I was cutting the pieces out of the middle, but I decided the white was too stark a contrast, so I over-dyed it navy using Rit liquid dye leftover from a Halloween costume project a few years ago. As with my other dyeing experiments, I used the stovetop method and it worked a treat.

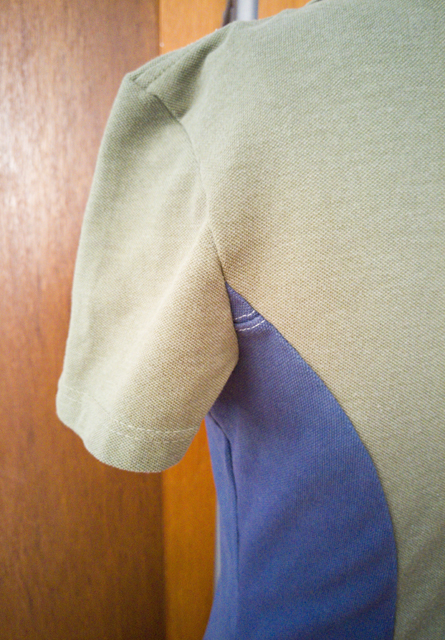
With these cutting hurdles behind me, the dress sewed up quickly. I basted everything on my regular sewing machine and then sent it through the serger to seam and finish the edges. The logo just narrowly avoided being eaten by the seam.

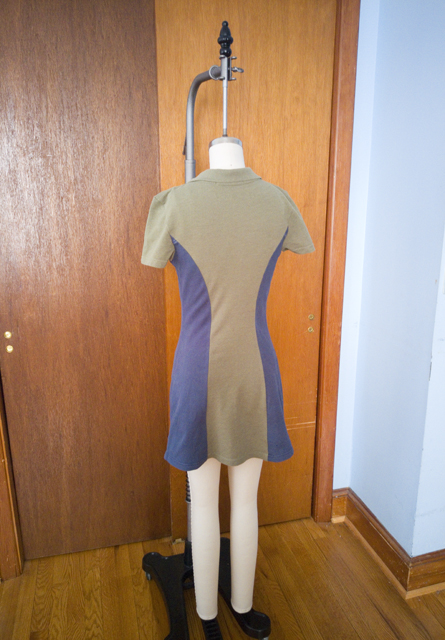
Perhaps the only thing that would give away the secret of this dress’s origins are the teeny, tiny seams near the back underarm, which were the part of the shoulder seams on the white-shirt-turned-blue-shirt.

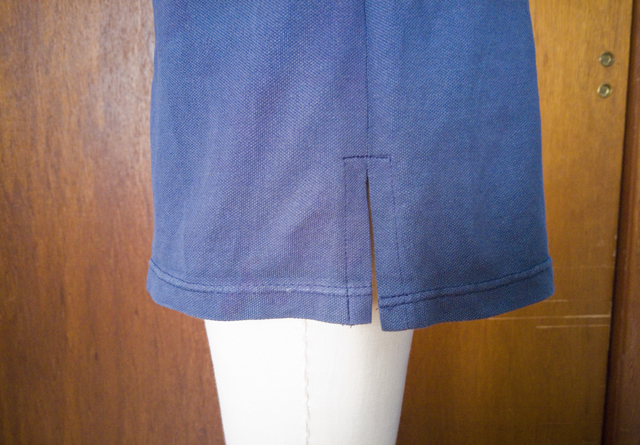
A split hem seemed a like a classic design choice. The back of the dress ended up several inches longer than the front, so I ended up cutting off the excess and re-hemming the back in coordinating thread for each panel.

Overall I like the way the dress turned out—it looks pretty much exactly like I envisioned it—but it’s just a little too snug and a little too short to feel comfortable walking around in. (These dress form shots are a bit deceiving, since it hasn’t been padded out to my measurements yet.) I can see that I overestimated how much the pique would stretch horizontally when choosing a size, and what felt long enough in a baggy cast-off is different from what feels long enough in a more figure-skimming silhouette. If I do a refashion like this again—I’m definitely interested in trying, I’d just need to thrift a couple more shirts—I’ll size up in both pattern and shirt so that I can get the fit I’m looking for.

Since I don’t know anyone smaller than me, this dress is headed to the thrift store, but at least that’s better than heading to a landfill, right?

FO: Christmas Party Dress

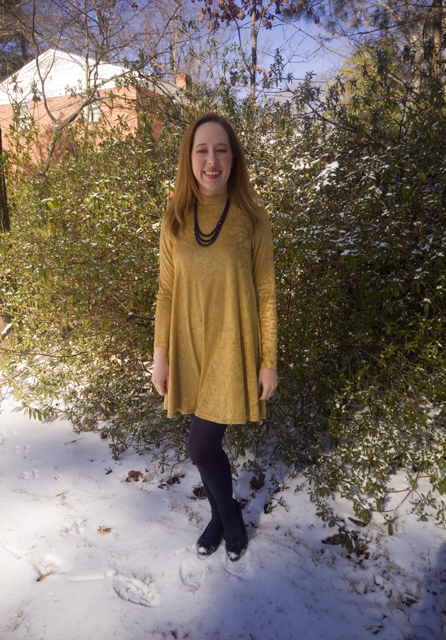
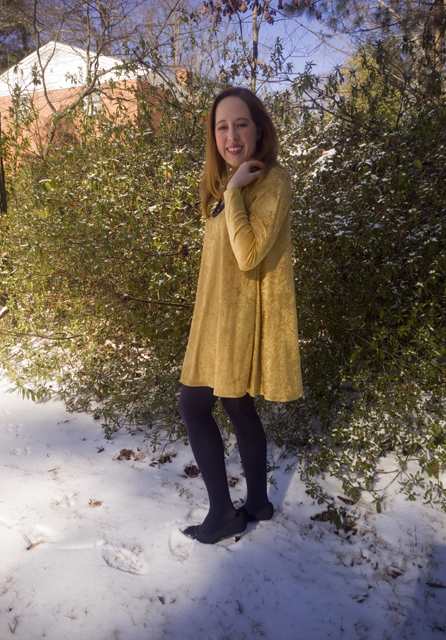
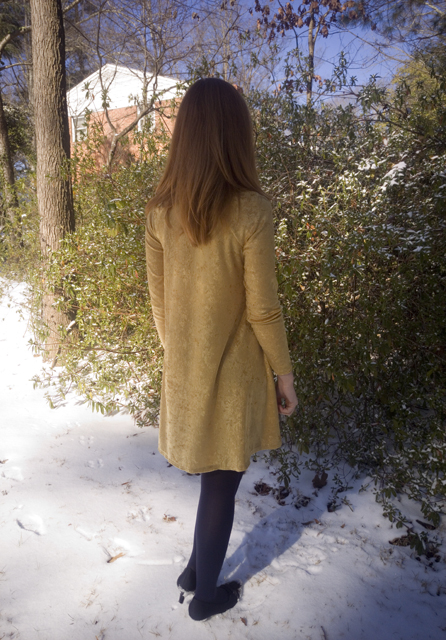
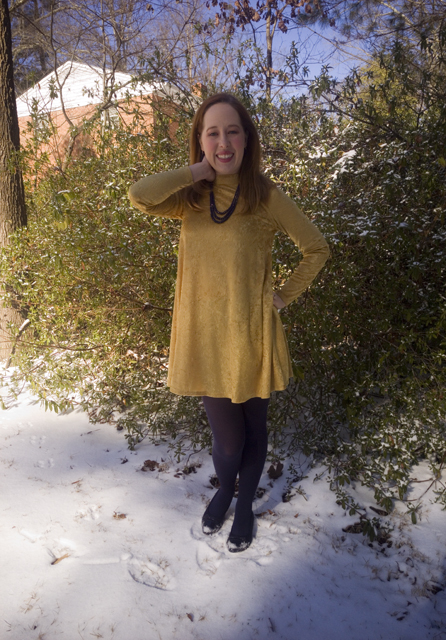
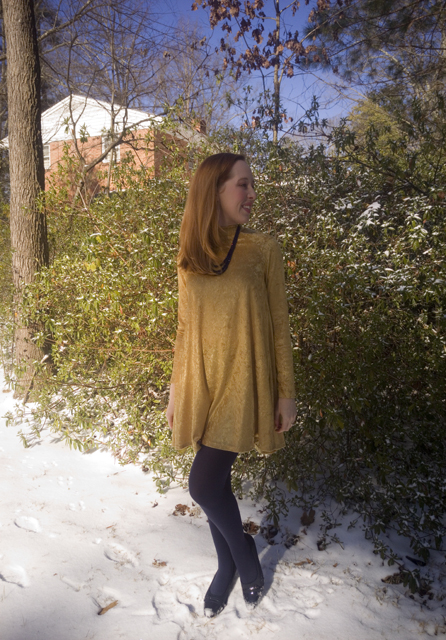
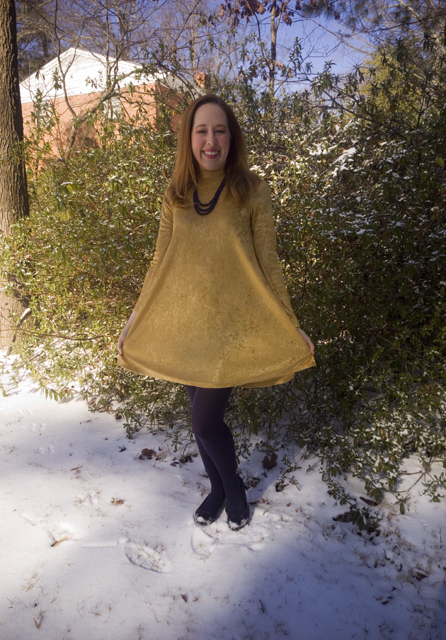
In an effort to live up to the name I’ve chosen for this blog, I’m finally bringing out something pretty to share! This is my last finished project from 2016, photographed after the first (and very likely only) snow of the winter. Although the temperatures were hovering around freezing, the fresh powder was too pretty to pass up. And since we’ve had almost exclusively damp, grey days since, it was worth enduring 15 shivering minutes to capture these photos in a rare moment of natural light.

Let’s rewind to the beginning of December, when my company holds a Christmas party for all of the staff. They rent a small ballroom at the local university and, as our office is decidedly business casual throughout the rest of the year, many people take it as an opportunity to dress up. Last year I played it easy and safe and wore a dress that I had purchased last-minute to wear to a November wedding, but this year I really wanted to express myself by making my own dress.

I had it in my head that I wanted a swingy, buffet-friendly silhouette in a festive gold. For the pattern I picked New Look 6469 View A. My original plan for the fabric was something more champagne-colored and sparkly that I had seen while browsing JoAnn’s website, but sadly, my local store barely had enough on the bolt to make a placemat, and I’m not sure it would have been weighty enough for this look anyway—too much cling and not enough drape, you know?

I was in a bind, however, because I was shopping a week before the party and didn’t have time to look elsewhere or order anything online. Like Camille, I settled for a crushed velvet instead, and also like Camille, I harbored serious doubts about the success of this project. Imagine me standing in the aisles of JoAnn, frantically Googling “crushed velvet dress” and trying to find examples that did NOT trigger flashbacks to teen movies from the 90s. (My Date with the President’s Daughter, anyone?) I took a gamble and decided that if the project was a total failure, I still had the dress I’d worn the year before, as well as a couple of older dresses hanging in my closet that would work in a pinch.

Armed with pattern, fabric, and the impetus of a swiftly-approaching deadline, the entire thing came together over five carefully scheduled nights:

  1. Press the tissue and roughly cut out the pattern pieces
  2. Trace off the pattern and make adjustments
  3. Cut fabric
  4. Sew together body, sleeves, and collar
  5. Hem (and re-sew the collar, which was unplanned)

I cut a size 8 based on the finished bust measurement. The only adjustment I made to the flat pattern was to omit the back zipper and cut the back as one piece, since the fabric is a moderately stretchy knit. I basted everything together on my sewing machine using a zigzag stitch, then serged everything with a light tan thread that blends nicely with the underside of the fabric. I’d like to reach a point where I can assemble + finish knit garments in one pass on the serger, but I don’t have a good feel for it yet, so I’ve settled for doing construction in two steps to try to ensure the seams stay lined up properly.

After sewing everything up, I realized that the collar is drafted quite high and snug; I could barely pull the dress over my head and felt like I was being strangled once I did. I forewent any serious modifications to the neckline—because it would have no doubt involved cutting a new collar, which I didn’t have time for—and settled instead on serging around the neckline a second time, cutting off the previously serged edge. This had the effect shortening the height of the collar and widening the opening all the way around, which loosened the stranglehold somewhat. It’s still not the most comfortable thing in the world, but I was able to tolerate it for the few hours I was at the party.

I like that the sleeves have darts to help the shoulders lie smoothly, but I think the armhole is cut a bit too deep for me, or else the raglan seams aren’t quite the right shape for my torso, because I feel like the dress hikes up too much when I lift my arms up or forward. It’s certainly not enough to be indecent, but it’s something I’d want to tweak if I use this pattern again.

The sleeves are also annoyingly just too short, more of a bracelet length than a true full-length sleeve. It’s possible they only seem that way because of the aforementioned armhole depth and/or raglan shaping issues, but it’s worth considering, especially since I’m only 5’2″ and never have a problem with things being short.

The sleeve and dress hems are serged, folded under, and top-stitched down using a light golden yellow thread. Hand-stitching the hems probably would have had a nicer, subtler effect, but I didn’t leave myself enough time for that, and I don’t think the overall look is spoilt because of it.

Despite my fears, the dress garnered nothing but compliments all night, and it was plenty comfy for mingling, munching, and absolutely crushing at Texas Hold’Em. It’s also gained me a bit of a reputation around the office as someone who makes things, something I hope to cultivate with future garments more suited to day-to-day wear. With any luck, I’ll be able to coax a few sewists or would-be sewists out of hiding. 😉